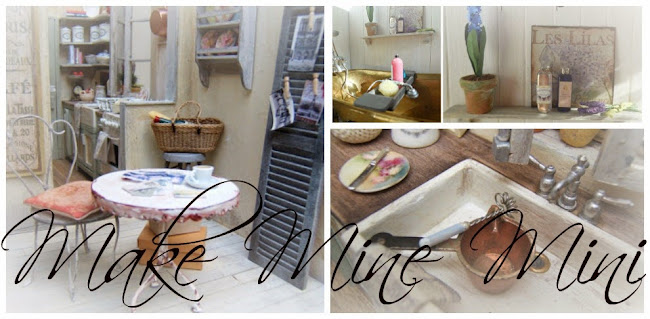
There have been a lot of life changes since my last post. Both of us are now retired, we've moved out of our Sydney apartment, disposed of all of our furniture and so on, put personal belongings in storage and are now full-time house/petsitting. Of course most people who live this type of nomadic lifestyle don't have to move a three level dollhouse and mini-making equipment with them so that aspect is a little challenging but otherwise we're enjoying the experience.
In regard to my many many boxes of mini stuff working out what to store and what to take was a bit of a challenge and I did make a few mistakes (like forgetting the box of door handles) but mostly I have with me what I need for the moment. I'm concentrating on finalising lighting decisions and finishing the walls and floors on the third floor (hallway, bathroom and double width bedroom).
Below left is a mock-up of the bedroom interior. The grey door has had more coats of paint on it than most of us have had hot dinners! It was previously green on both sides (with multiple shades and coats involved in that too) but I decided to change to grey on the bedroom side. Quite liked the result (left) after a few coats, washes and sanding but decided this morning to give it a final coat of 50/50 pale grey paint and matte glaze to soften it, result on the right.
I think it still needs just a hint of dry brushing with a little bit of green on the lower panels so that it looks like the grey has worn and allowed a little of a previous coat of paint to show through, but otherwise I'm pleased with the softer look and will try to resist playing with it again.
However, sometimes change is not a good thing and I really should leave well enough alone!! I don't know why I thought for even a second that it was a good idea to put a coat of the light grey 50/50 glaze on the cream hallway side of the door as well, but I did. Now, keeping in mind that it took me AGES to get this side of the door (which was also green) to pretty much match the cupboard door which was done months and months ago, this is clearly one of the stupidest and logic defying changes I've ever made. Honestly, sometimes I should be supervised!!
Given the number of times I do and redo, and redo again (and again!) it's no wonder it takes me so long to complete a project!


.jpg)


.jpg)

.JPG)

